During my time using Blender3D, I’ve received numerous inquiries about whether Blender can be used for product design. Rather than explaining verbally, I’d like to showcase the possibilities through a simple example of creating ‘lighting.’
1. Ideation

Through platforms like Pinterest (or other methods like Behance or Dribble, whichever is personally convenient), you can scrapbook and make notes.
2. Image-board Work

I organized my scraps around one theme, and it seems I was inclined towards creating ‘lighting.’ (Recommended local scrapbooking tool : PureRef – https://www.pureref.com/)
3. Blender Setting
In product design, the ability to precisely display and manipulate dimensions (using mm as the unit for drawing) becomes a fundamental feature. While it might not be as common to utilize Blender for design work, I personally found it possible to work with it and exchange data for processes like 3D printing or CNC machining. Although the approach may differ compared to general solid or NURBS modeling tools, I believe it’s not entirely impossible to incorporate Blender into the product design process.

You set Blender’s unit to Metric, specifically millimeters (a commonly used unit in general for product design scale work).
4. Sketch Preparation
The product design process may vary between individuals or companies, but personally, I aim to use Blender’s features to gauge proportion for my blog in a simple way. I start by getting a relative sense through real-sized surrounding product objects. (Typically, I work with foam boards for soft mock-ups to gauge size and form.) Placing real-scale objects in the environment, I sketch roughly with grids, rotating the 3D view at various angles to get a feel for the silhouette and size.


To gauge and establish proportions while checking the relative product scale, I download data like FBX/glTF files (example from Vitra Website, Sketchfab), which are worked on in real-scale, and then place them within the space.
5. Environment Composition
I position the downloaded 3D objects (considering a table lamp, for example) by precisely inputting their actual positions and scales. This involves specifying the exact location based on real-world measurements, such as the floor’s height (Z) at the zero-point location, directly inputting Transform numbers in Blender’s Sidebar.


I import the freely downloaded real-scale 3D models and work in Object Mode, checking their scale. Mostly, I manipulate them using Grab (G) and Rotate (R), finalizing by inputting precise Transform values.
6. Sketch
To sketch, I add a Grease Pencil Object, select the pencil object, and then, by choosing a drawing layer and a brush, I can draw directly onto the 3D Viewport with my tablet.

For 3D sketching, I create a Grease Pencil Object and sketch in Draw Mode. On the top right, I open the Image Editing window to easily refer to an image board I previously created while sketching.

I add Front and Side views, checking the grid (making sure if it’s in mm or cm) to pivot the viewport while sketching, determining where and at what size it would be ideal.
Using a tablet (especially a monitor tablet for more precise sketches), I draw directly on the viewport (3D Drawing). Sketching is done intuitively to explore proportions and capture the overall feel as accurately as possible.

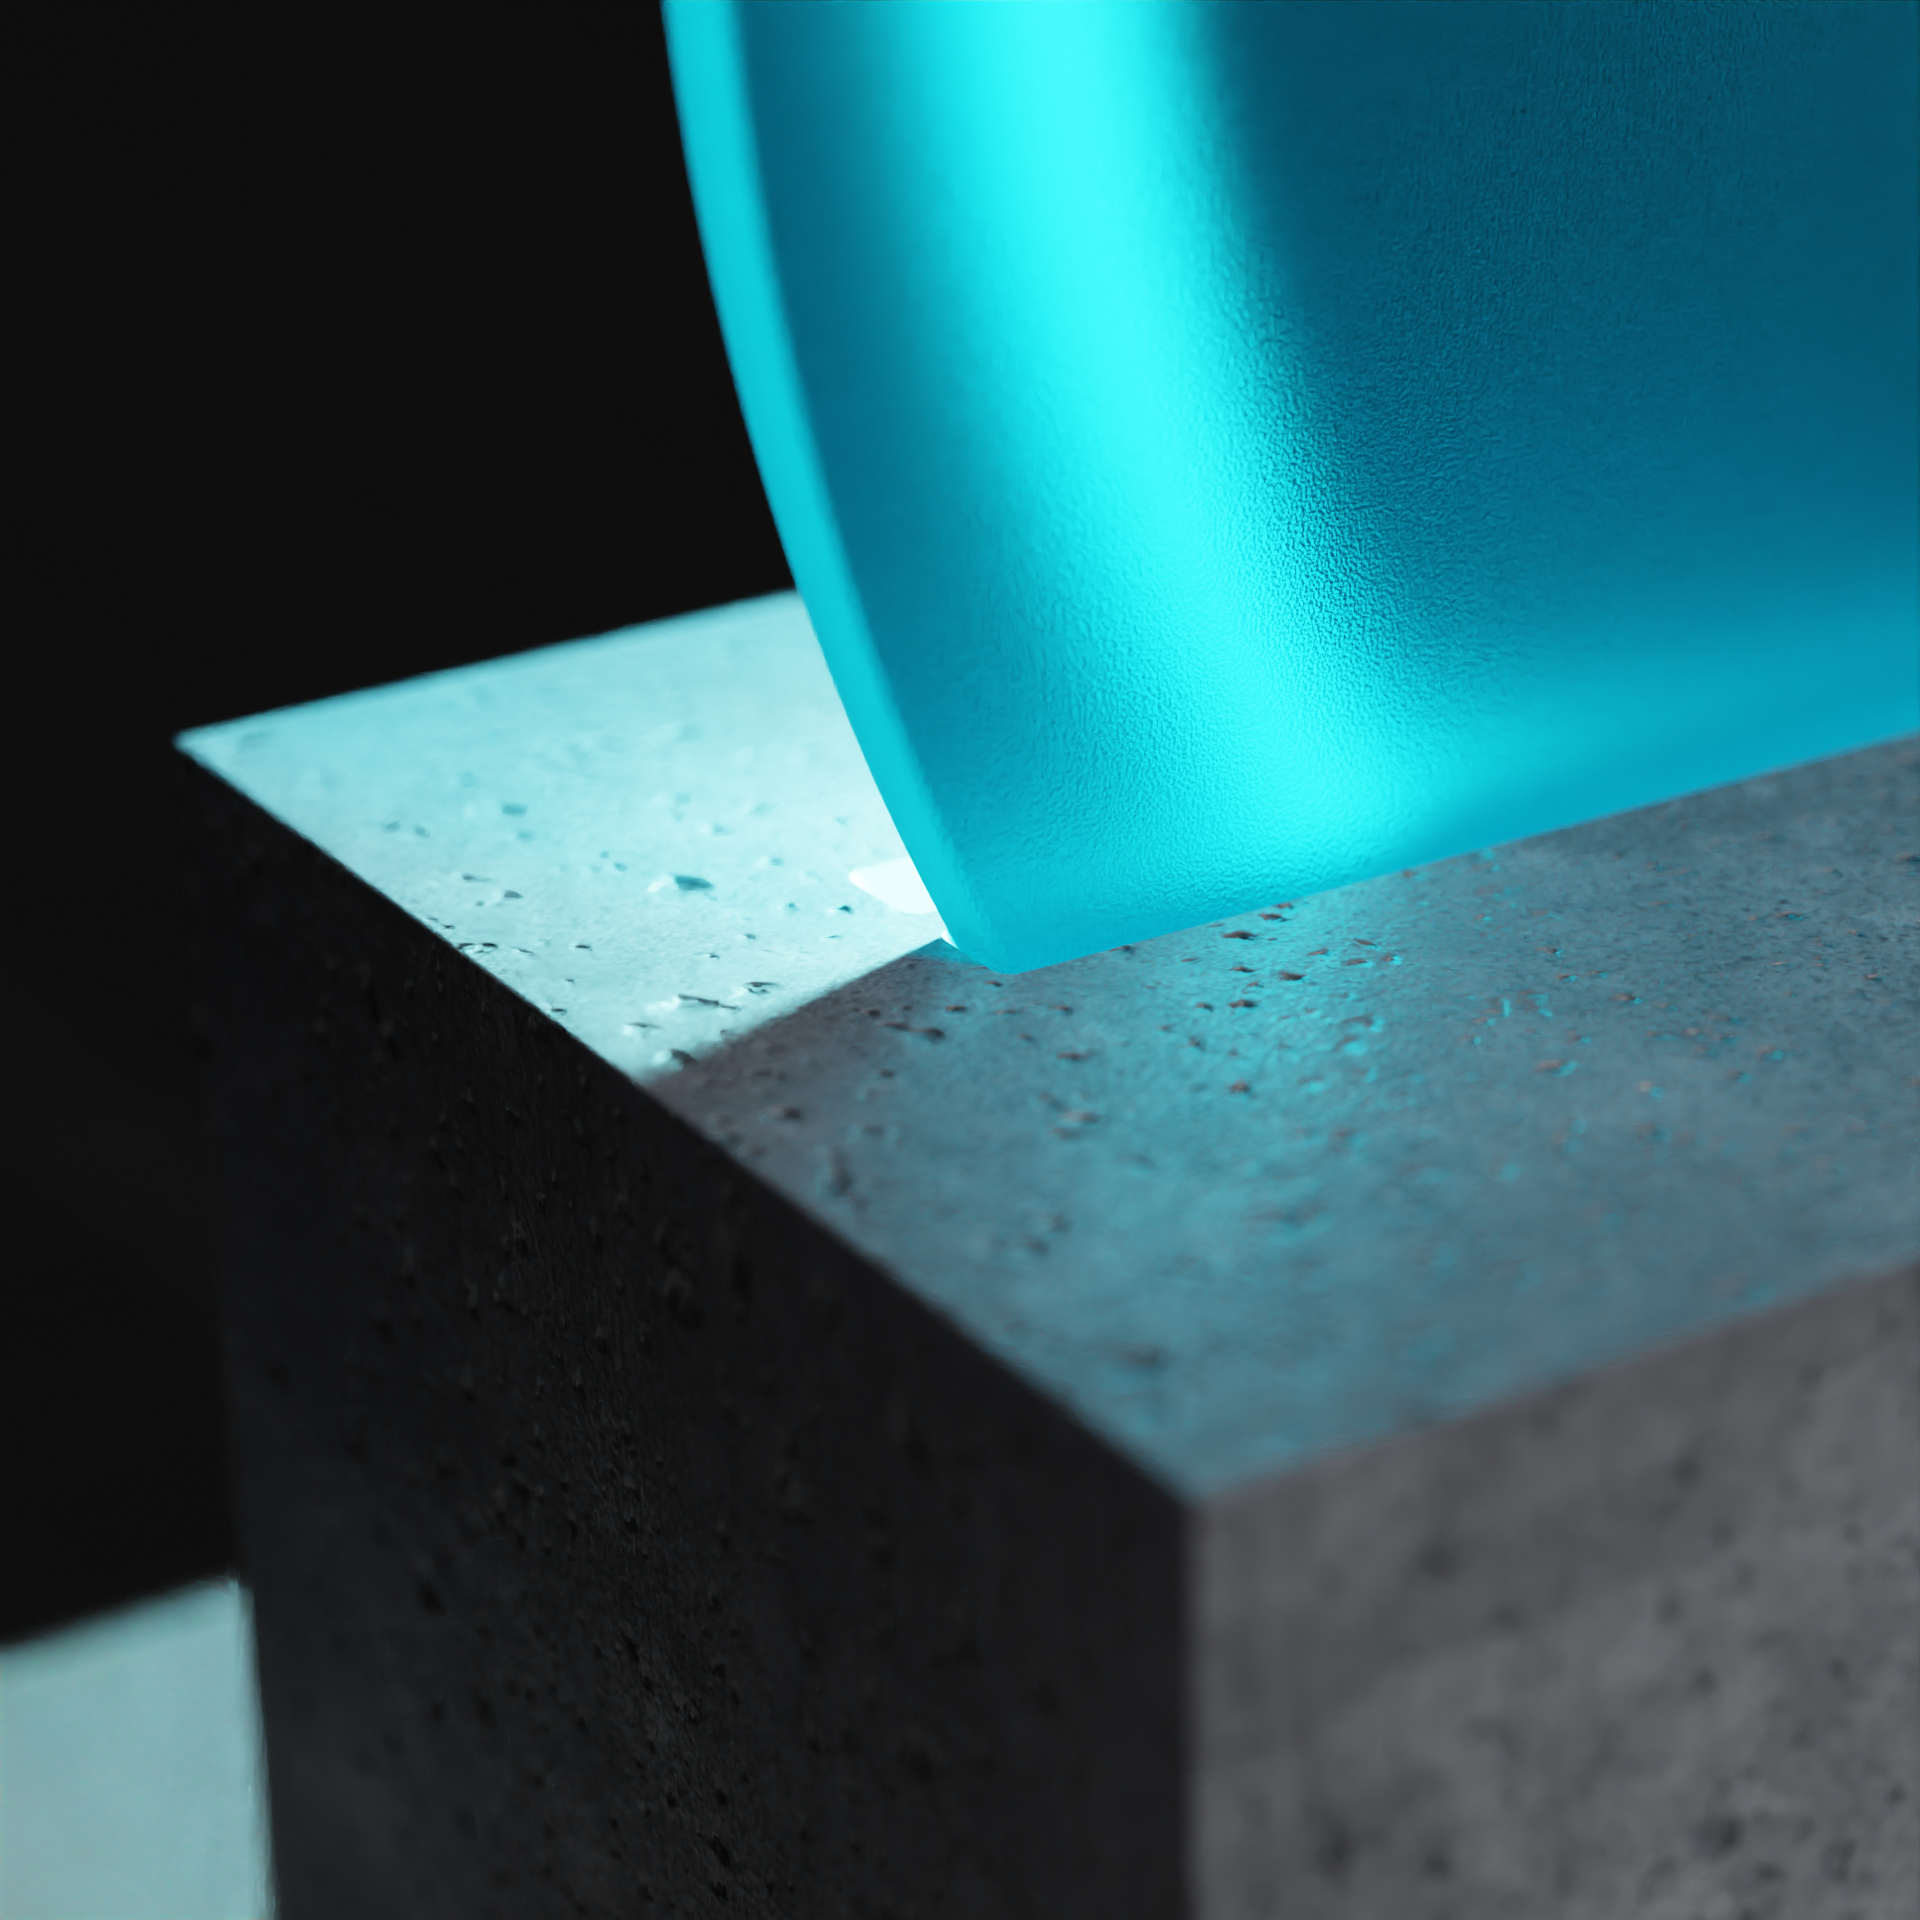
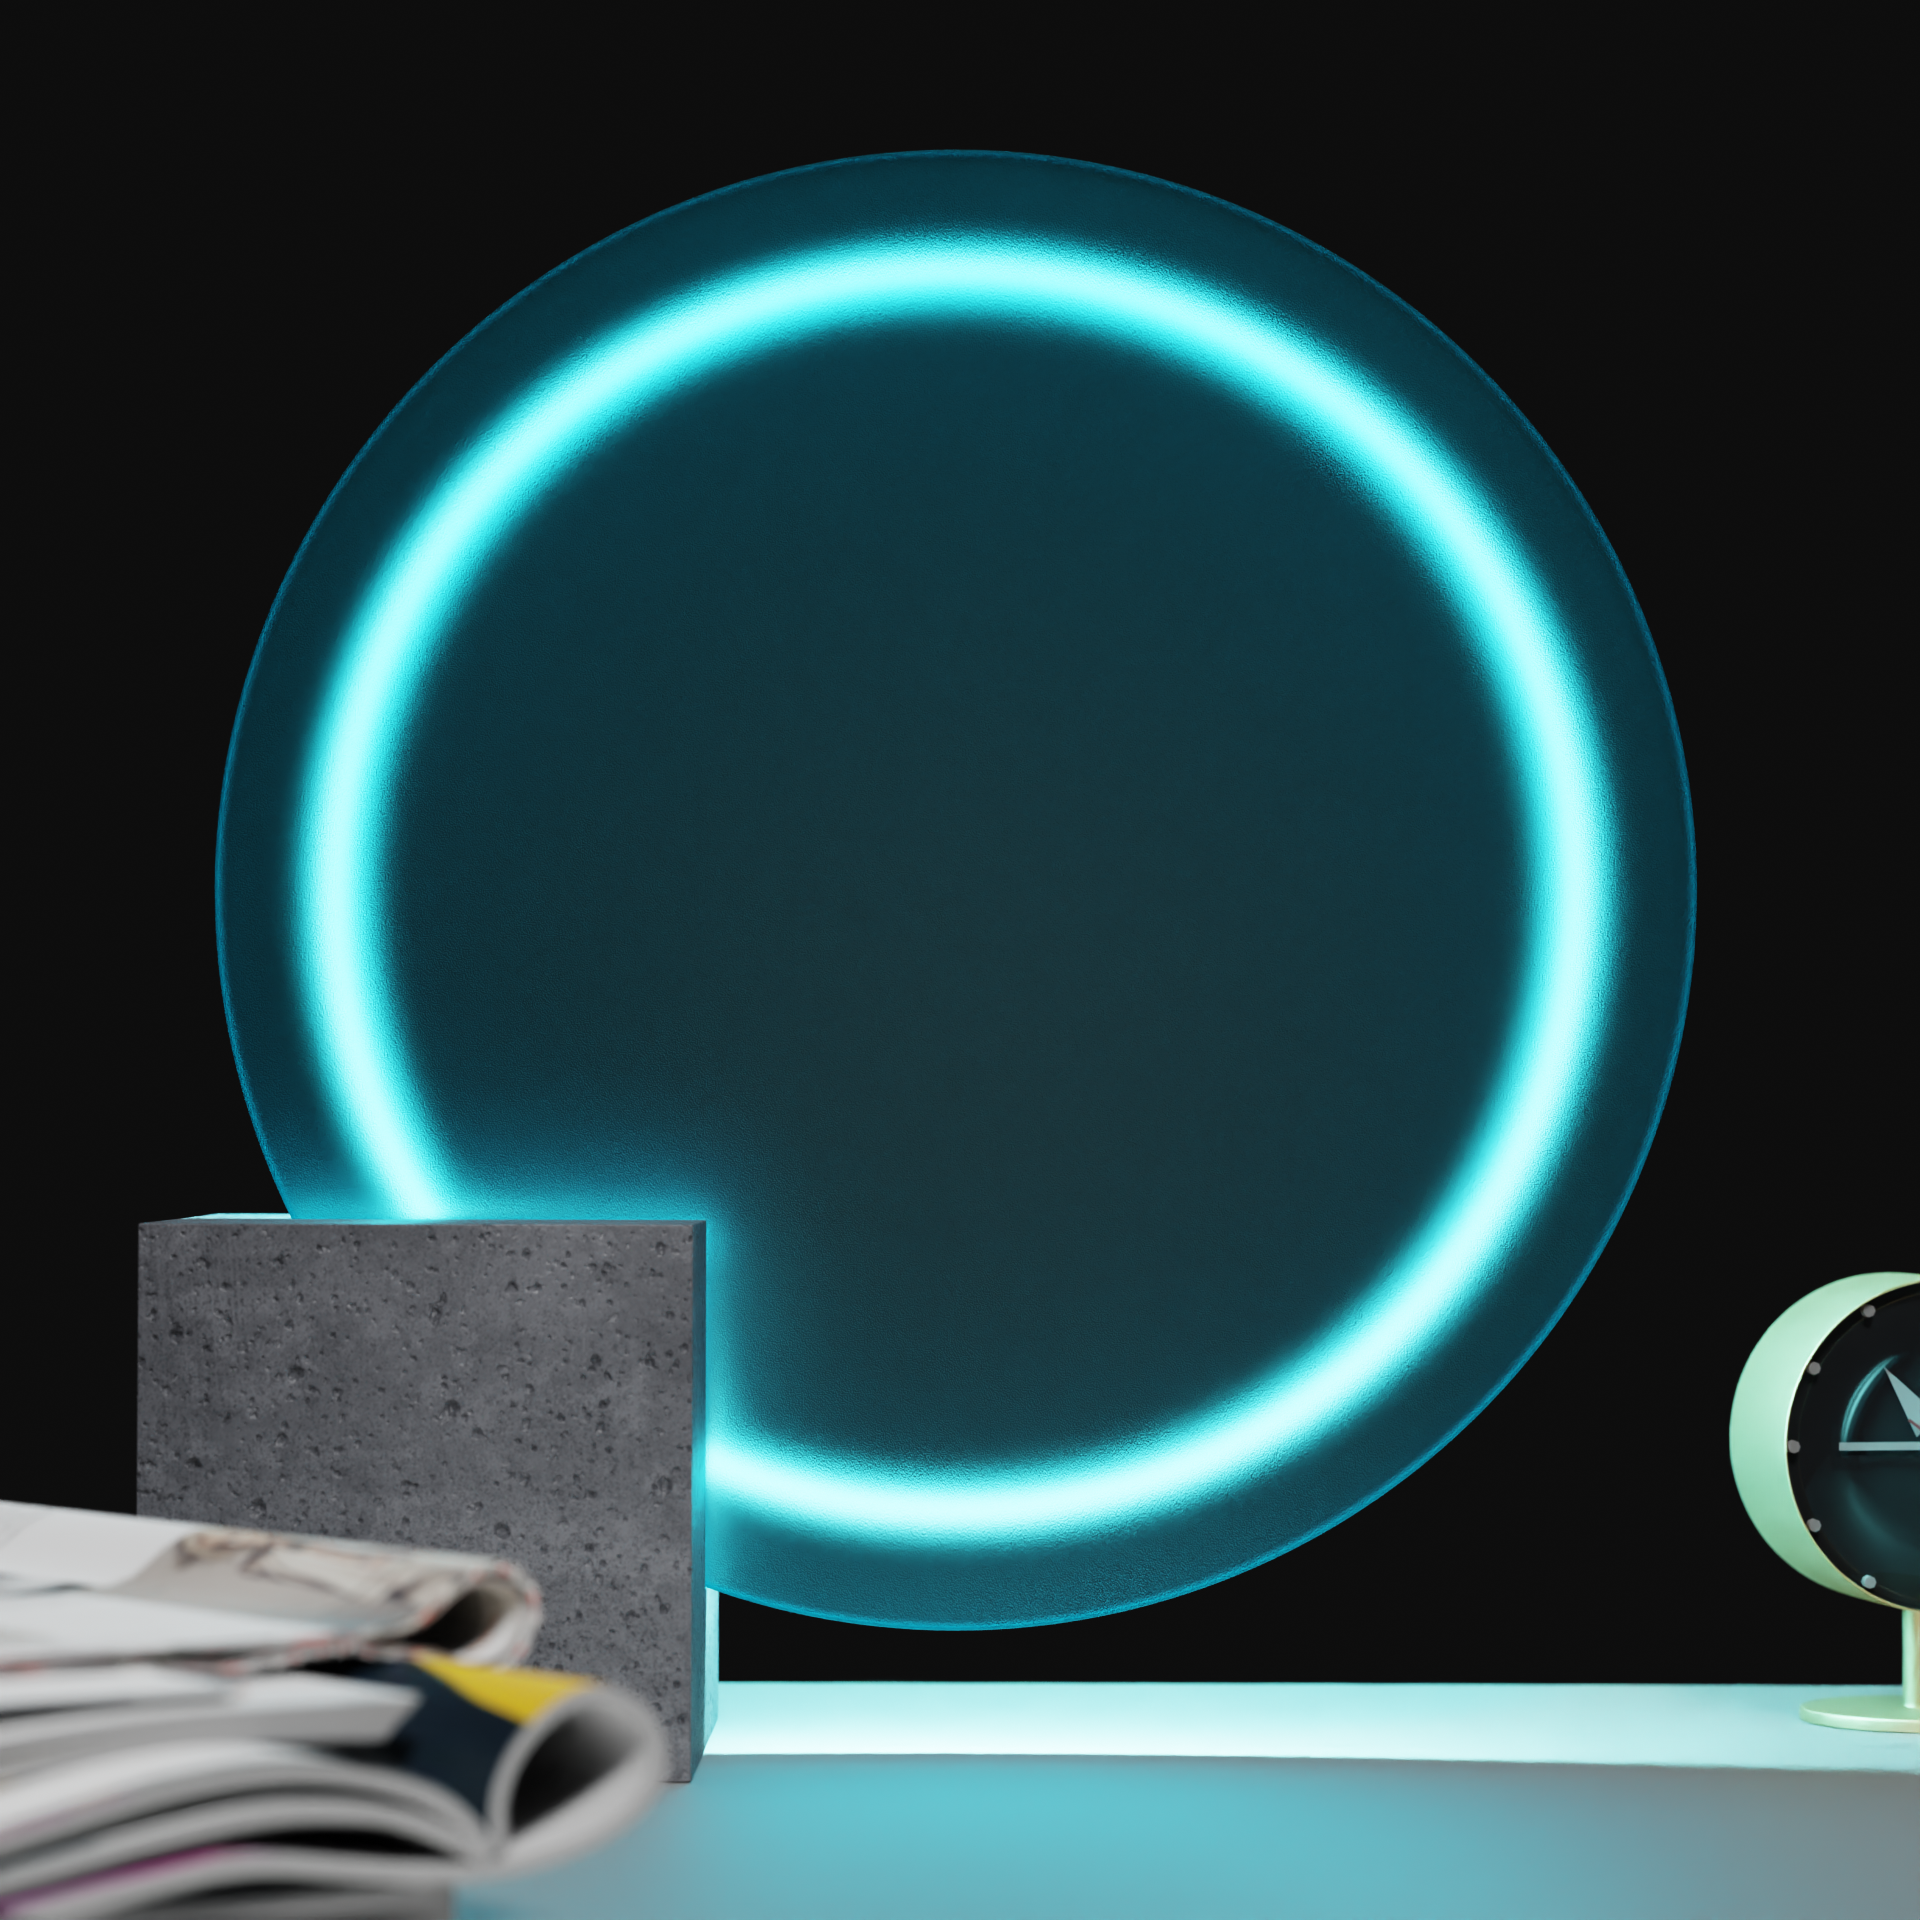
While sketching, I contemplate the approximate size, material, and manufacturing ideas. Personally, I’ve opted for a concrete stand with sandblasted acrylic (dyed) along with LED strips.
As I conclude #1
In the next episode, “Blender, Product Design #2,” I aim to share methods of using Blender for CAD-like scale perfection and non-destructive (history) modeling.
In #2, I’ll cover modeling and rendering using materials.